Click any of the links above to find a Unit Study that I've designed (and usually tried with my own kids) just for homeschool families like you! This is a work in progress, so none of the units are completely finished, but hopefully you can find something you can use with your own family!

Search This Blog

Showing posts with label earth science. Show all posts

Earth & Space Science Lesson 16: Caves & Caverns

Read:


Geology Rocks! pg. 85-89


Product Details Product Details  Caves (Landforms)


Watch:

An intro. to caves for kids:


Activity 1: How Are Caves Formed?


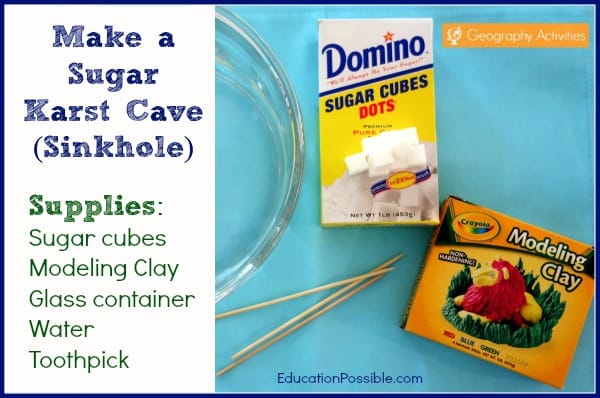
Caves form when water that has a little bit of acid in it seeps down through the soil until it hits limestone. Demonstrate this with the experiment on pg. 86 of Geology Rocks! OR, use the one found here.

Make a Sugar Karst Cave (Sinkhole)


Activity 2: "Cave-cicles"

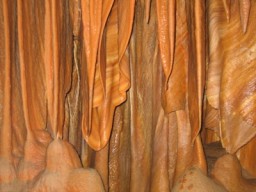
Complete the experiment on pg. 87 of Geology Rocks! to observe the two types of calcite crystals formed when limestone dissolves in caves: stalactites and stalagmites. Find another project to make stalactites and stalagmites at this website.

Make stalactites and stalagmites


Earth & Space Science Lesson 15: Fossils


Read:


Geology Rocks! pg. 72-84

Everything Rocks and Minerals, pg. 52-53

Product Details  Product DetailsProduct Details


Watch:

Exploring Fossils:


What is a fossil?


Activity 1: Make a Petrified Fossil


There are several types of fossils:
- petrified fossils
- trace fossils
- carbon films
- preserved remains

Petrified fossils are made when water that has lots of minerals in it seeps into the holes found in natural items (like bones, plant parts, or seashells). Read more about petrified fossils on pg. 75 of Geology Rocks! and complete the experiment "Turn that Bone to Stone" to make your own petrified fossil.


Activity 2: Make Cast & Mold Fossils


Trace fossils are the most common fossils, which are created when living things leave an impression on the earth. There are two main types of trace fossils: molds & casts. A mold forms when an organism is pressed into layers of sediment, but the organism itself gradually disappears so only the mold of its shape is left. A cast is the opposite of a mold. It is formed when minerals and sediment fill in the spaces of a fossil mold to create a replica of the original organism. 

You can make your own mold & cast fossils by following the instructions on pg. 52-53 of Everything Rocks & Minerals.  It is also detailed on pg. 80-81 of Geology Rocks! Or, you can follow the steps found at this website.

Image result for make your own cast & mold fossils


Activity 3: Make a Carbon Film Fossil

A carbon film forms when an organism leaves behind a thin layer of carbon. Try this: Place a leaf under a sheet of white paper and gently rub a pencil over top of it. Notice the details of the leaf that show through the paper. Carbon films are known for the amount of detail they show!


Activity 4: Make Preserved Remains


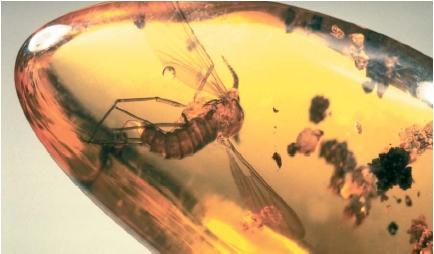
You can observe the fourth type of fossil-- preserved remains-- by placing  a dead insect, leaf, or flower in an ice cube tray filled with water and then wait for it to freeze. Observe whether the item looks the same or different as it did before it was frozen?


Earth & Space Science Lesson 14: Glaciers


Read:


Geology Rocks! pg. 69-71


Product DetailsProduct Details


Watch:


What is a Glacier?


Watch a glacier in action:


Activity 1: Ice Jam Ahead!


Find this activity on pg. 69 of Geology Rocks! to see how frozen water is a force powerful enough to break apart even the biggest of rocks.


Activity 2: Make a Mini Glacier


See a glacier in action by making your very own. Use the instructions at this website, or, use pg. 70 in Geology Rocks!


Earth & Space Science Lesson 10: Identifying Minerals

Go back: Earth & Space Science Home Page


Read:


Geology Rocks! pg. 31-41

Everything Rocks and Minerals, pg. 36-43

Product DetailsProduct Details  Product Details  Rocks: Hard, Soft, Smooth, and Rough (Amazing Science)   If You Find a Rock  Looking at Rocks (My First Field Guides)


Activity 1: Break it Up!

Geologists use several categories to sort & identify rocks & minerals: color, luster, hardness, gravity & streak.  One of the first tests they do, however, is for cleavage. When a mineral breaks into smooth, flat pieces, geologists say it cleaves. If it breaks into rough or jagged pieces, they say it fractures. Different samples of the same mineral will always break apart the same way. Wrap up a large rock sample in an old towel and strike it as hard as you can with a hammer, as described on pg. 35 in Geology Rocks! to observe how it breaks apart.


Activity 2: Other Properties of Rocks & Minerals


Collect several types of rocks-- either from outdoors or from a store. Be sure to get a variety of sizes, colors & shapes. Then, complete the activity on this page, using five different tests to determine what types of rocks you have based on their properties. The Scratch Test is also explained on pg. 38 of Geology Rocks, and the streak test is explained on pg. 40.


Activity 3: Rock Tic-Tac-Toe


Complete the tic-tac-toe activity on pg. 41 of Geology Rocks! to determine whether the rock samples you have are igneous, sedimentary, or metamorphic. Observe some of the most popular types of each of these rocks in Everything Rocks & Minerals, pg. 22-27.


Earth & Space Science Lesson 9: Metamorphic Rocks

Go back: Earth & Space Science Home Page


Read:


Geology Rocks! pg. 27-30

Everything Rocks & Minerals, pg. 24-25, 28-31


Product Details


Activity 1: How are metamorphic rocks formed?

Metamorphic rocks are formed by heat and pressure. Use 3 different colors of clay to demonstrate this process, as shown in this video:


Activity 2: Review 3 Rock Types: Crayon Rocks


To review the three types of rocks and how they are formed, try this experiment to create different types of rocks with melted crayons.

Earth & Space Science Lesson 8: Sedimentary Rocks & Erosion

Go back: Earth & Space Science Home Page

Read:

Geology Rocks! pg. 22-27, 68-69

Everything Rocks & Minerals, pg. 26-27

Product Details Product Details  Product Details Product Details


Watch:


What is Erosion? (Caution: Refers to "Mother Nature" instead of God's hand in creation...)


Explore: 

This is the explanation of erosion from pg. 44-45 of  Explore Rocks & Minerals! (Brown, Cynthia & Nick)

Sand is a central ingredient in the second rock form, sedimentary rocks. These are rocks made from sediments, or tiny particles that are pressed tightly together into stone. To understand how most sedimentary rocks are formed, you must understand how the sand got to the beach in the first place. It happens through a process called erosion.

Imagine your'e a huge boulder high on a mountain. For the first few thousand years or so, you think you're indestructible. But slowly, rain and wind and ice work on you. One winter, you crack a little bit. Water drips into these cracks and freezes, and the crack gets bigger. Maybe wind knocks a rock against you, breaking off a piece. Before you know it-- after many more thousands of years, that is-- you're nothing more than a load of smaller rocks tumbling down the mountainside.

During a rainstorm, you're swept into a stream. In the stream you're broken down into smaller rocks, and your sharp edges are smoothed. These small pieces of rock are called sediments, like pebbles, sand, and mud. You might settle at the bottom of a river, or be carried out to the ocean, or be blown by the air to become part of a sand dune. But one thing is for sure: you've been eroded!


Activity 1: Wash & Wear

Complete the "Wash & Wear" activity on pg. 68 of Geology Rocks! to demonstrate the process of erosion.

Activity 2: Rocks in a Jar


Complete the "Settle Down" experiment on pg. 24 of the Geology Rocks! book.
As an alternative, you could do this one:


Activity 3: Sand Sculptor!


Complete the "Be a Sand Sculptor!" Activity on pg. 25 of the Geology Rocks! book.

OR

Better understand the experience of how sand transforms into sedimentary rock with the experiment on Page 15 of this document


Earth & Space Science Lesson 7: The Rock Cycle & Igneous Rocks

Go back: Earth & Space Science Home Page


Read:

Geology Rocks! pg. 15-21

Everything Rocks & Minerals, pg. 22-23, pg. 46-47

Product Details  Product Details  Product Details


Explore:


Rock Cycle Explanation:

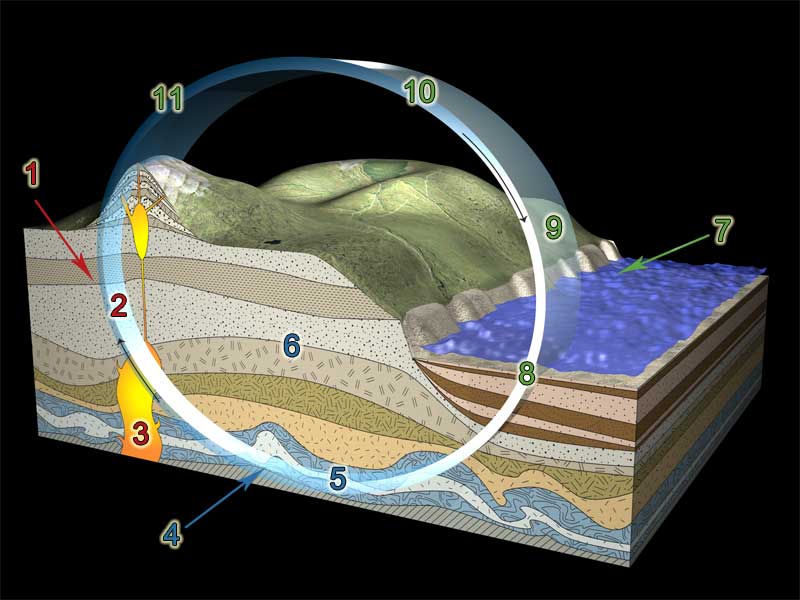
In order to better understand the different types of rocks, scientists have grouped them into three groups based on how they are similar and how they are different. The three types of rock are igneous, sedimentary, and metamorphic. Each type of rock is formed in a different way and each type of rock can be changed into the other types of rock. This is called the Rock Cycle-- basically, the process that makes and recycles rocks.

Most rocks on earth began as igneous rocks. Igneous rocks are formed from magma. Magma cools and solidifies into rock. When igneous rocks are exposed on the surface, time and weather break the rock down into smaller and smaller pieces. This is called weathering and erosion. Wind and water carry the smaller pieces of igneous rocks into piles called sediment beds. Over time the sediment beds get buried and the pieces of rock become cemented together to form a new type of rock called a sedimentary rock.

If the sedimentary rock is exposed at the surface it can be eroded away and changed into a new sedimentary rock. However, if it gets buried deep in the Earth, heat and pressure essentially bake the rock, changing it into something new. This is called metamorphosis-- and the new rock is called a metamorphic rock. Metamorphic rocks can also be weathered and eroded and eventually changed into sedimentary rocks. Or, if metamorphic rock is forced deeper into the Earth, the rock can melt and become magma. If the magma cools and hardens it will form into igneous rocks.


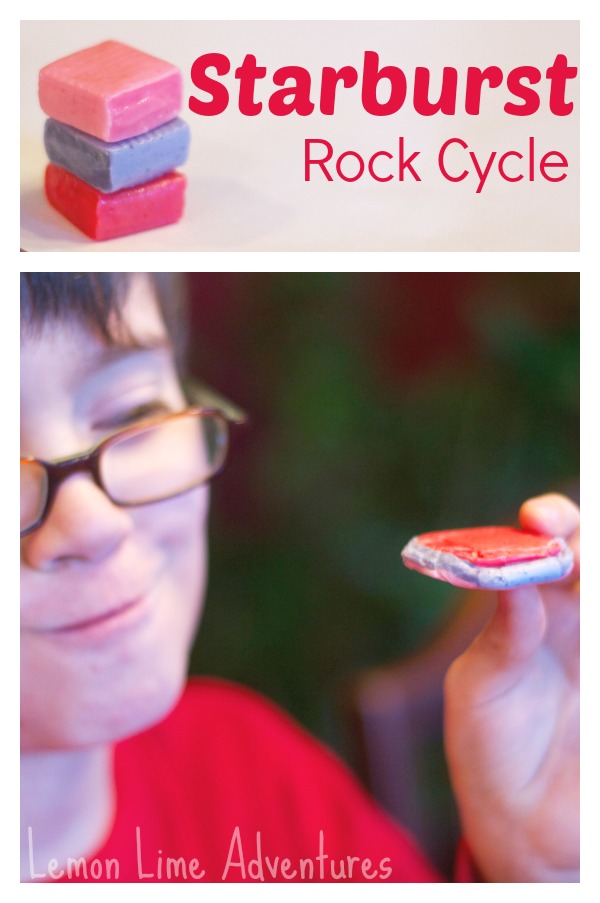
Activity 1: Edible Rock Cycle

Help remember how the three types of rocks are formed using this fun experiment with Starburst candy.
Starburst Rock Cycle for Kids


Activity 2: Igneous Rocks


Complete the "Sugar on a Sheet" and "Sugar on a Stick" experiments from the Geology Rocks! book on pg. 18-19.

OR

Complete the "Salt of the Earth" crystal experiments on pg. 46-47 of the Everything Rocks & Minerals book.

Here is another "recipe" for Rock Candy:

ROCK CANDY EXPERIMENT: A beautiful Science experiment & a yummy treat all in one.  My kids loved checking on their jars each day to see if the rock candy had grown!


Activity 3: Break Open a Geode

A geode is a type of rock formation that occurs when a pocket of air or gas is trapped and forms a cavity in an igneous rock. A hard "crust" forms around the outside of the cavity. Groundwater, which can often contain dissolved minerals, seeps through the rock over a long period of time, forming beautiful crystals inside the cavity.

There are several places you can purchase a geode kit, like this one here at Mineral Planet, or this one from Gem Center, USA.  Then get a hammer and break it open. Use a magnifying glass to see what's inside!

Read more about geodes here.


Earth & Space Science Lesson 6: Intro. to Geology

Go to: Earth & Space Science Home Page

Read: 

Geology Rocks! pg. 4-19

Everything Rocks & Minerals pg. 10-11, pg. 18-19

Product Details 


Explore:


What is Geology? Interactive website for kids


If you were planning to bake a pie, what ingredients would you use for the crust? The ingredients used to make the Earth's crust, which is the part we stand on, are very complex. There are 90 different elements that exist in the Earth's crust. These elements combine with one another in a number of natural ways, creating molecules known as minerals. There are around 3,700 minerals found in the Earth's crust, with dozens of new minerals being discovered every year! Part of the job of a geologist is to dig beneath the Earth's surface to find these rocks, which are broken apart into minerals which we find in materials we use every day. 


Activity 1:

Go on a Mineral Scavenger Hunt to see the existence of minerals in our world. See how many of the items on this chart you can find at home or the store.


Activity 2: What is the difference between rocks & minerals?


Use various types of candy to learn the difference between rocks & minerals in this science experiment. 


difference between rocks and minerals

Earth & Space Science Lesson 13: Volcanoes

Go to: Earth & Space Science Home Page


Read:

Geology Rocks! pg. 58-60 &


Product DetailsProduct Details
Product Details

Watch:


All About Volcanoes for Children


National Geo Kids Explore Volcanoes:


All About Volcanoes, by SciShow Kids


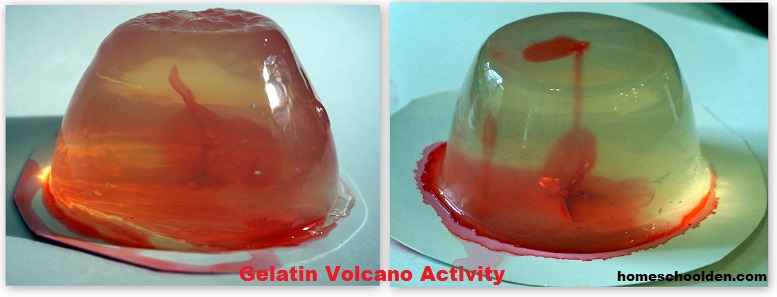
Activity 1: Learn how lava flows.


Make this awesome Gelatin Volcano to learn how lava flows.

gelatin-volcano-activity


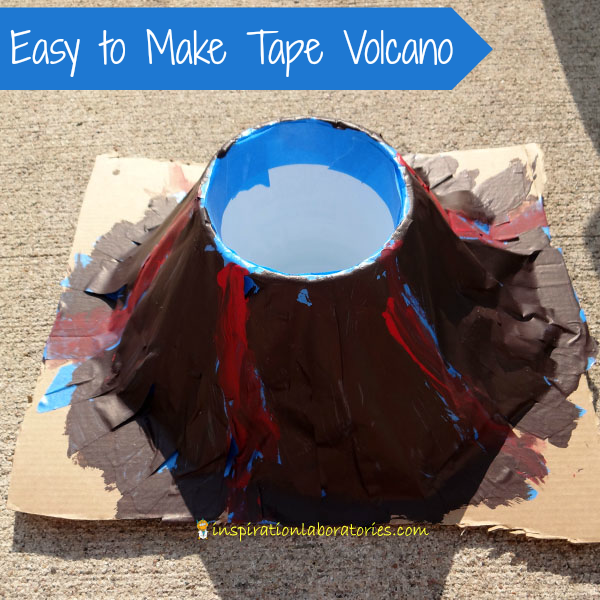
Activity 2: Make your own volcano.


Make your own: Easy-to-Make Tape Volcano

Tape Volcano

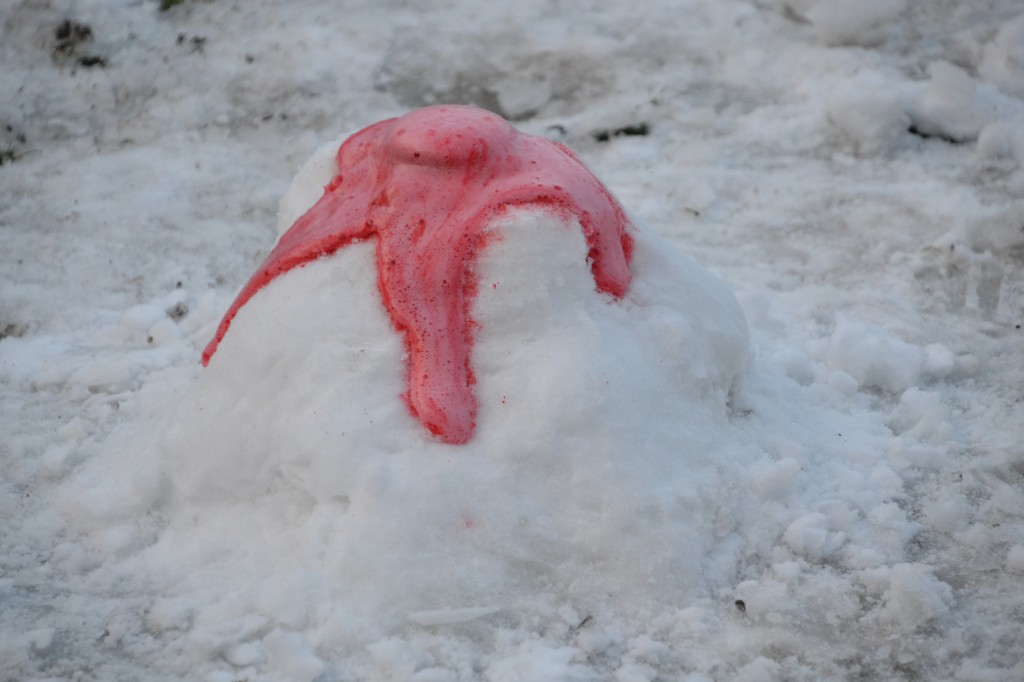
If you have snow, you could also make this Snow Volcano:

Baking soda volcano


Activity 3: Craft a volcano.


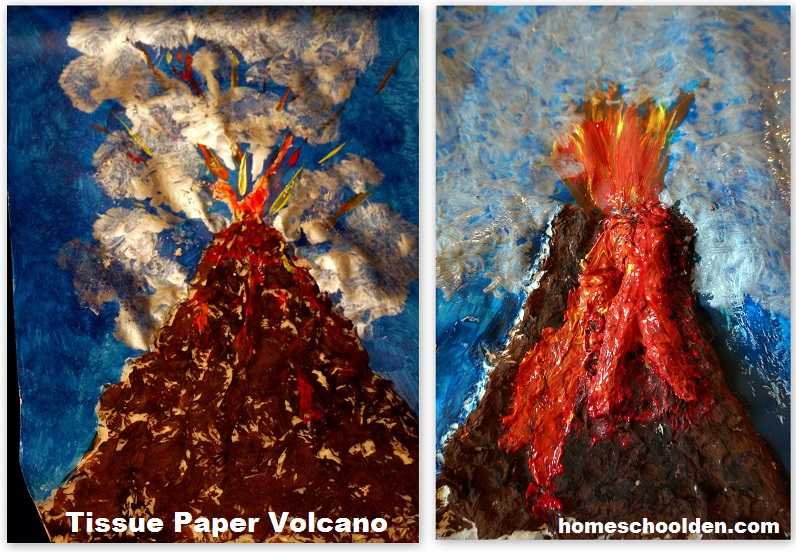
This one's optional if you are at all into crafts: Tissue Paper Volcano Craft

Volcano Activity


Earth & Space Science Lesson 12: Earthquakes

Go to: Earth & Space Science Home Page


Read:

Geology Rocks, pg. 50-57


Product Details Product Details Product Details


Watch:


Plate Tectonics for Kids on YouTube:


What is an Earthquake?


Activity 1: What causes earthquakes?

Here is a great explanation of Plate Tectonics using Oreo Cookies.


Activity 2: Another demonstration of earthquakes


Demonstrate how earthquakes are caused using a jar of colored rice.


Activity 3: How do we measure the impact of an earthquake?


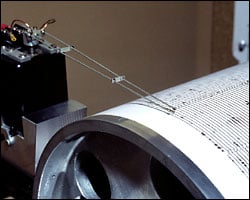
Make your own seismograph-- a tool scientists use to record the size of an earthquake.